
It's never a good sign to see water dripping from your ceiling! This, along with water stains or black mould on ceiling plaster, is one of the tell-tale signs of a roof leak.
Once you spot these signs and you suspect you have a leaking roof, it's essential to take action immediately. If left unchecked, a leaking roof will result in major damage and a very high repair bill!
Today's Roof Clean Spray Team blog is all about leaking roof repair, giving you the advice and information you need to sort out the problem quickly and effectively.

This step is crucial, as you might be able to stop water dripping from the inside, but if the actual cause of the leak isn't put right, then the problem will likely occur again, just in a different place!
Make a note of where the problem seems to be, such as dripping water when it's raining, or water/mould stains concentrated in one area. If possible, head into your loft or attic space and check for any water pooling on or around insulation, plasterboard or flooring.
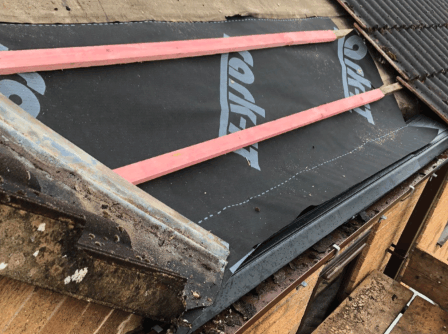
While there are many different types of roof construction, they are all basically similar in that the outer layer - usually tiles of some kind - hangs on wooden battens. These are attached to the rafters, and between them is sandwiched a breathable membrane or roofing felt of some type. There may be other layers, such as insulation and plaster, but it's usually the membrane that allows water in as they are designed to be breathable, not completely waterproof.
And when tiles are damaged, water makes its way through and saturates the membrane, eventually coming into the loft space. If the membrane itself is damaged, then the situation will be more serious.
With this in mind, let's explore some of the other common causes of roof leaks:
Frequent, heavy rainfall is a significant contributor to roof leaks! When rain persists over extended periods, it increases the risk of water ingress, especially in older roofs with cracked tiles, damaged flashing, or deteriorating membranes.
Over time, the water can also compromise the structural integrity of the roof, rotting timber supports or rusting metal components. Persistent dampness may also lead to other issues, such as mould growth or damage to insulation, increasing the overall impact on your home.
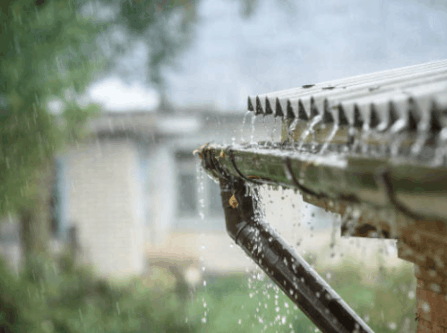
High winds and storms, which seem to be happening more frequently in the UK, pose a serious threat to roof integrity. These intense weather events can easily dislodge or break tiles, shingles, or slates, leaving underlying layers of the roof exposed to the elements.
In some cases, entire sections of roofing materials may be torn away by the force of the wind. Additionally, storms often carry debris, such as tree branches, which can hit the roof with enough force to crack tiles or puncture membranes.
This type of damage isn't always immediately visible, meaning leaks might develop slowly over time, made worse by further rainfall. Regular inspections are crucial to catch and repair such damage before it worsens (see below for more on this point).

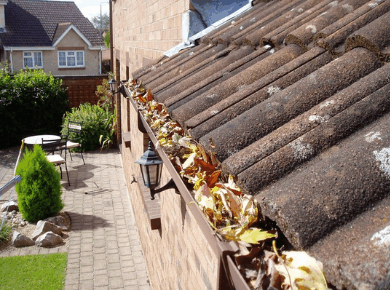
Clogged gutters, often filled with leaves, moss, or other debris, prevent proper water drainage. This can lead to water overflowing or pooling on the roof, putting more pressure on vulnerable areas. Over time, this stagnant water can seep into cracks or joints, especially on flat roofs where drainage is naturally slower.
Additionally, during freezing conditions, pooled water can turn to ice, expanding and causing further damage to roofing materials and gutters. Regular cleaning and maintenance of gutters and downpipes is essential to prevent these issues.
Over time, roofing materials naturally degrade due to consistent exposure to harsh weather conditions, including rain, frost, and UV radiation. For example:

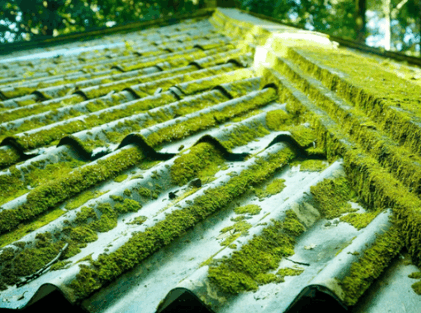
Moss is particularly prevalent in the damp UK climate and can trap moisture on the roof surface, leading to faster wear and potential leaks.
While it's generally more prevalent on shaded roofs, particularly on the north side, it can grow on most roof surfaces.
The roots of this organic growth anchor themselves on porous tiles, eventually causing the roof's surface to deteriorate. This leads to cracked and damaged tiles that let flow into the loft space.
So, now we've examined some possible causes, let's see how to fix a leaking roof!
If you're concerned about the amount of water coming through into the roof space, it's possible to apply an emergency fix before arranging for a more permanent repair.
Put some buckets out to catch the drips, then grab some roofing cement, bitumen, roofing tar or sealant and spread a liberal amount over the leak using a putty knife. This quick roof patch should prevent water from dripping almost immediately, but it's only a temporary fix.
Leaving this without getting it sorted out properly could lead to serious problems! As soon as possible, get outside and see where the problem is so you can make a more long-lasting repair.
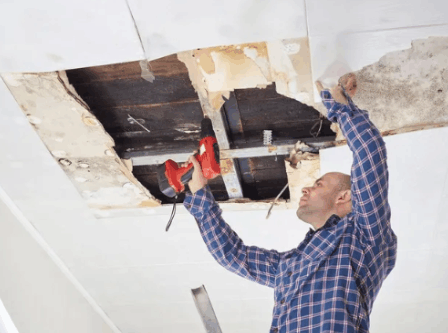
The first thing to say here is to take your safety seriously. When going up onto the roof, use a sturdy ladder and make sure it is secure. Wear non-slip footwear and never attempt the job during wet or windy weather conditions.
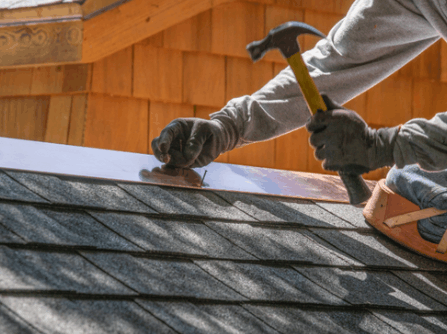
This step ties in with the one below, as you'd need to lift the tiles to access the membrane. However, it only applies if there is a small tear in the membrane, so we'll treat it as a separate issue here.
Gently remove tiles or shingles from the affected area using a flat crow bar or pry bar, and store any undamaged tiles safely. Apply caulking, silicone sealant or bitumen to the split membrane and leave it to dry before carefully replacing the tiles. Make sure they are snugly in place with the top tiles overlapping those beneath.
If the damage is significant, you may have to remove a larger section of tiles and carefully cut out the ripped or degraded material. Replace this section with a new piece of membrane, remembering to make it slightly larger than the hole it will be covering so that it overlaps by a couple of inches.
Attach this to the old membrane using a strong adhesive to ensure a watertight seal, then replace the tiles.
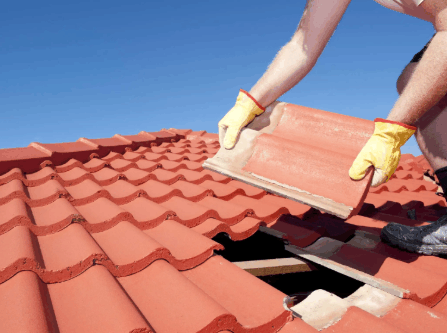
Once you have located the damaged area, check the surrounding tiles by lifting them gently to reveal the membrane beneath. If this is intact, turn your attention to the tiles themselves. Any tile that's damaged severely will need to be replaced. Slide the new tile into place carefully, making sure it overlaps the ones below to ensure water runs off into the gutter.
Follow the manufacturer's instructions on securing the tile, and be especially careful when tightening fasteners on concrete or clay tiles as overtightening will crack them.
For small cracks and chips, clear any loose debris with a paint brush and apply a good-quality roof sealant. Make sure to monitor this and arrange for a more permanent fix when you can.
Check out our post “Do roof tiles need to be sealed”.
Broken, displaced or worn-out lead flashing is a common cause of a leaky roof, and this needs sorting out. Often, the flashing comes away from walls, chimneys, vents or joints, allowing water inside.
Sometimes, if the damage isn't too bad and the lead is in fairly good condition, all you need to do is push it back into place with a mallet. Make sure it goes into the chase (a groove made for the lead to sit in) and fix it in place with a silicone sealant or mortar.
Lead flashing that's too badly degraded will need to be replaced to ensure that your home is watertight, and for this, it's best to approach a professional roofer.
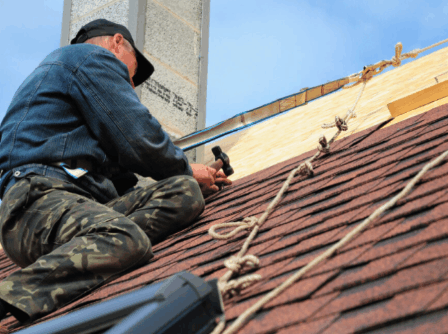
A leaking flat roof can be a real pain!
However, flat roof leak repair is generally easier, mostly as these are often on extensions and garages, so you're not on a steep-pitched roof high above the ground. Even so, you still have to take precautions and stay safe.
First, clean the surface of any dirt and loose debris, then wash the area with soapy water and let it dry.
Next, apply a roofing primer to prepare the surface for the sealant. This step is crucial for effective adhesion. Spread a layer of liquid roof sealant or bitumen repair compound over the damaged area using a brush or trowel. Ensure the coverage extends a few inches beyond the leak for extra protection.
For larger cracks, place roofing tape or fabric over the sealant while it's still wet. Apply a second layer of sealant over the top to secure it. Once the sealant has dried (usually within 24–48 hours), inspect the area to ensure the leak has been effectively sealed.
Regular maintenance is essential to prevent leaks in the future, so always make sure the gutters are clear and that the fixtures are sound. Check for pooling every few months and take action immediately to reduce the risk of water damage.

If you weren't aware that you should have your roof inspected by a professional roofer at least once a year, you're not alone!
To be fair, only a fraction of homeowners ever do this, and it's not a great surprise as it's not very practical and involves extra expense.
However, it does make sense to get your roof checked out once in a while, as it could save you an awful lot of trouble and - more importantly - a large amount of money.
A professional roofer will assess the condition of your roof and provide a report based on the findings. This will let you know whether any repairs are necessary and indicate the overall health of the roofing material.
The Roof Clean Spray Team conducts a thorough inspection as part of every job, so you have a good idea of how long your roof is likely to last. We will also handle any minor repair work needed, and this is included in the overall cost.

While you can probably sort out a small roof leak yourself, it's always best to know your limits. Your roof is probably the most important component of your house structure, keeping everything watertight and weatherproof.
It might seem like a simple thing, but roofs can be complex structures with multiple payers, and it's important to get it right when trying to fix a leaking roof.
If you feel out of your depth or the damage is severe, it's best to ask for some help. Never take unnecessary risks, as it's just not worth it. You could end up making the situation worse or harming yourself in the process!
If you want some advice about this, feel free to get in touch with us.
A leaking roof can result in serious structural damage, so it's wise to fix it as soon as possible.
An even better solution is to reduce the risk of leaks happening in the first place by applying a protective coating to your whole roof! At the Roof Clean Spray Team, this is our speciality. We clean your roof professionally and apply a roof paint or coating that increases the roof's water resistance.
This also inhibits moss and algae growth, so your roof stays fresh, clean and beautiful for longer, and is far less likely to succumb to damage.
So, rather than fixing a leaking roof, you can find something more enjoyable to do with your time! You can also relax knowing that your roof tiles are in great shape, they look amazing, and will protect your home for many years to come.
Contact us for more information and we can discuss colour options along with the different types of roof coatings available. With the weather set to become increasingly wet and stormy in the future, it pays to invest in measures that will protect your home. The Roof Clean Spray Team is proud to lead the way, providing specialist roof coatings that guard your home against damage from the elements.


